


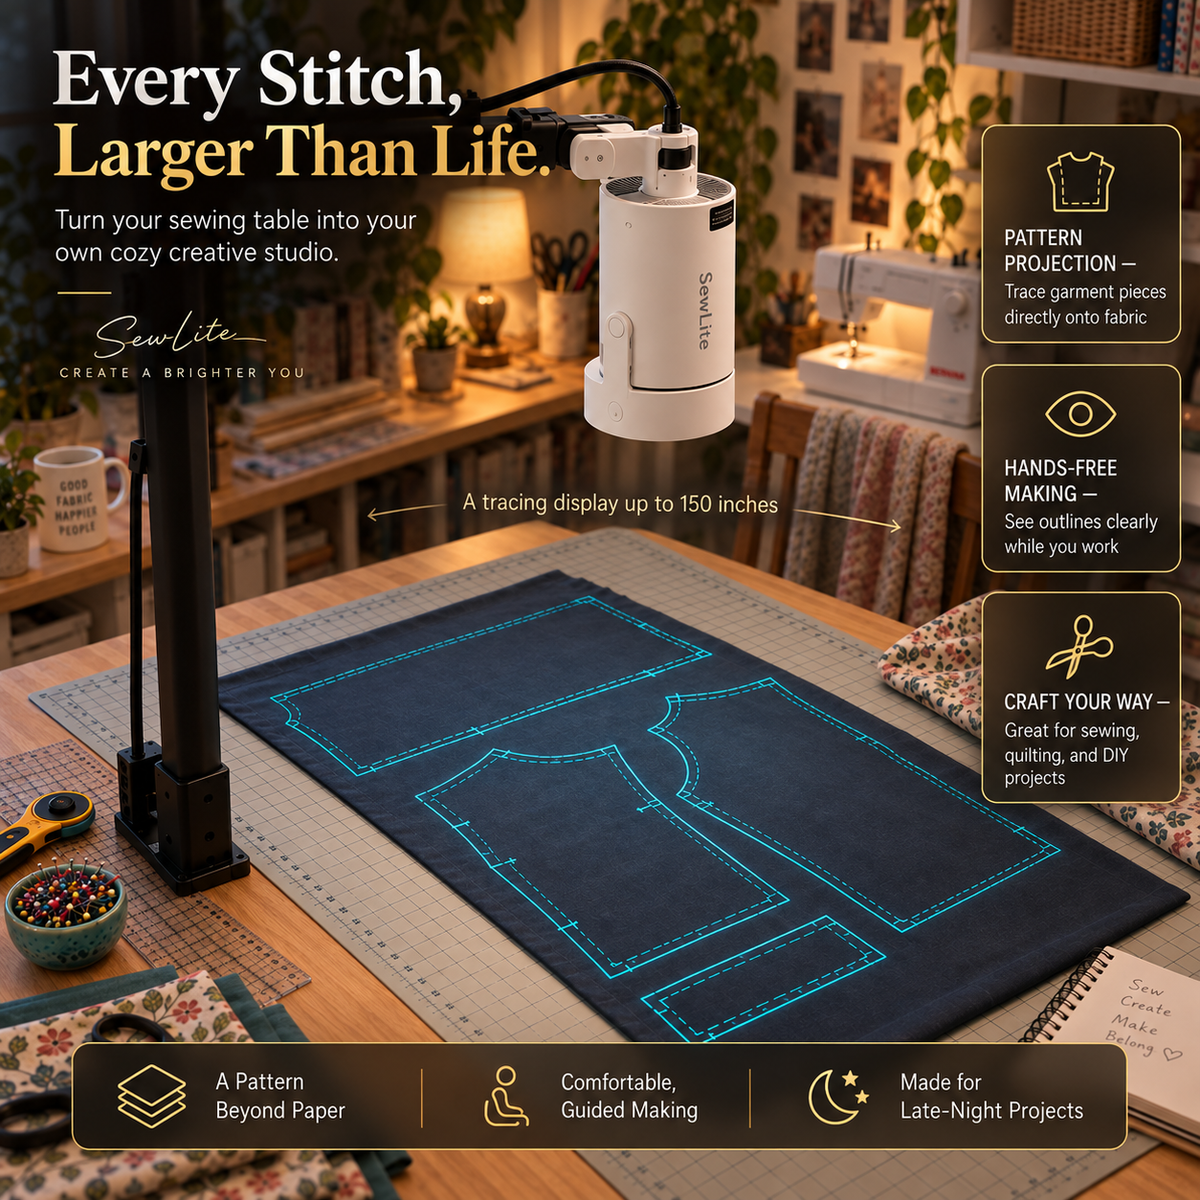
SewLite™ Pattern Projector
SewLite™ Pattern Projector
BUNDLE & SAVE

Tailor's Chalk Pen
Recommended for tracing projected patterns onto fabric. (2 pens + 20 refills)

Skip The Line!
Get your order processed first! Priority order processing.

Shipping Protection
-
Ordered
- - -
Order Ready
- - -
Delivered



Don't just hear it from us!
-

Jocelyn (US)
“I used to spend so much time printing, trimming, and taping patterns together before I could even start sewing. SewLite™ has made that whole process feel so much easier. I can project the pattern directly onto my fabric, line everything up, and start cutting. It’s especially useful for larger garment pieces that would normally take up a ton of paper. I honestly didn’t expect it to change my workflow this much.”
-

Matthew (CAN)
“I bought SewLite™ because my sewing space is pretty small and I wanted something I could set up without permanently changing my room. It’s compact, easy to position, and doesn’t take over my table. Once I got my pattern lined up, cutting pieces felt much faster and more organized. I’ve already used it for shirts, alterations, and a couple of smaller projects.”
-

Grace (UK)
“I sew a lot of clothes for myself and my family, and assembling PDF patterns was always my least favorite part. Being able to project the pieces straight onto the fabric saves me so much prep time. The outlines are easy to follow, and I love that I can put it away when I’m finished. It’s made starting a new project feel far less overwhelming.”


Cut with confidence. Setup once, use forever.
1. Choose your workspace. Set up on a sewing table, cutting table, or any flat surface with enough clear space for your fabric.
2. Position the projector. Place it at a height and angle where the lens faces directly down onto your work surface, adjusting the swivel head as needed.
3. Power it on. Use the included remote to turn the projector on and confirm it's projecting onto your surface.
4. Open your digital pattern. Load your pattern file on any device with wifi or an HDMI port - and connect to the projector.
5. Align the projection. Move the projector or adjust the pattern's zoom/position until the outlines line up exactly where you need them on your fabric.
6. Lay down your fabric. Smooth your fabric flat under the projection so the pattern lines, seam allowances, and markings (pockets, sleeves, collars, side panels) fall directly on top of it.
7. Trace or cut directly. Use the projected lines as your guide to trace with a fabric pen or cut straight into the fabric — no printing, no taping, no paper pattern needed.
8. Reposition as needed. For multiple pattern pieces, shift the fabric or adjust the projector and repeat the alignment step.
9. Store when finished. Since the setup is compact and adjustable, you can pack it away without dedicating permanent space to it — ready to set up again for your next project.
Frequently Asked Questions
How does the SewLite™ Pattern Projector work?
How does the SewLite™ Pattern Projector work?
Connect your device through HDMI or Wifi, open your the Pattern Projector app, calibrate your image size - open your PDF and project it directly onto your fabric! Adjust the image until the pattern is correctly positioned, then trace or cut along the projected outline.
Do I still need to print my sewing patterns?
Do I still need to print my sewing patterns?
No. SewLite™ is designed to let you work directly from digital patterns, helping eliminate printing, taping, and assembling large paper pattern sheets.
Can I adjust the size of the projected pattern?
Can I adjust the size of the projected pattern?
Yes. You can position and scale your pattern through your device so it matches the measurements and layout required for your project.
Do I need special fabric for it to work?
Do I need special fabric for it to work?
No. SewLite™ can be used with many common sewing fabrics. Projection visibility will generally be strongest when the room lighting and fabric surface provide enough contrast.